
Fresh Milled Flour Peanut Butter Cookies


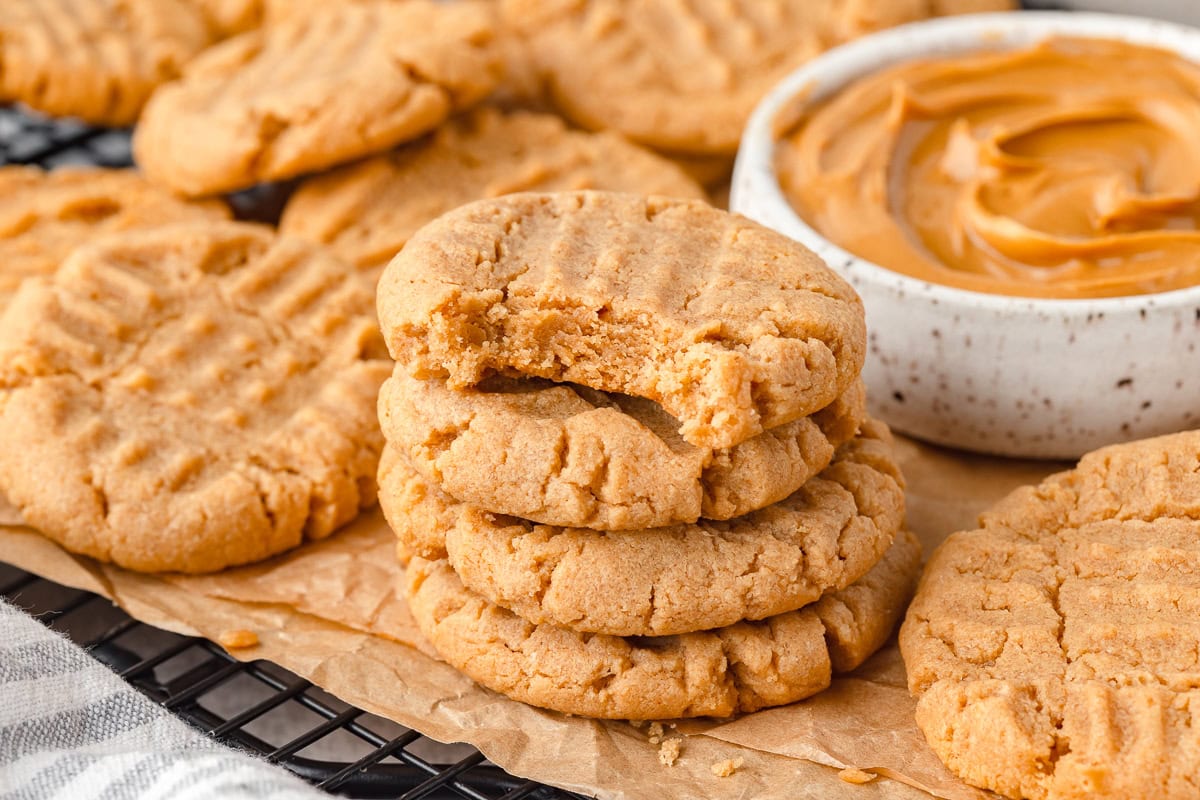
Fresh Milled Flour Peanut Butter Cookies are soft, chewy, and full of peanut butter flavor! They’re made with just 6 simple ingredients and a little whole grain love thrown in!
Are you looking for more Freshly Milled Flour Recipes? Try our Chocolate Chip Cookies, Snickerdoodles, or Fudgy Brownies.
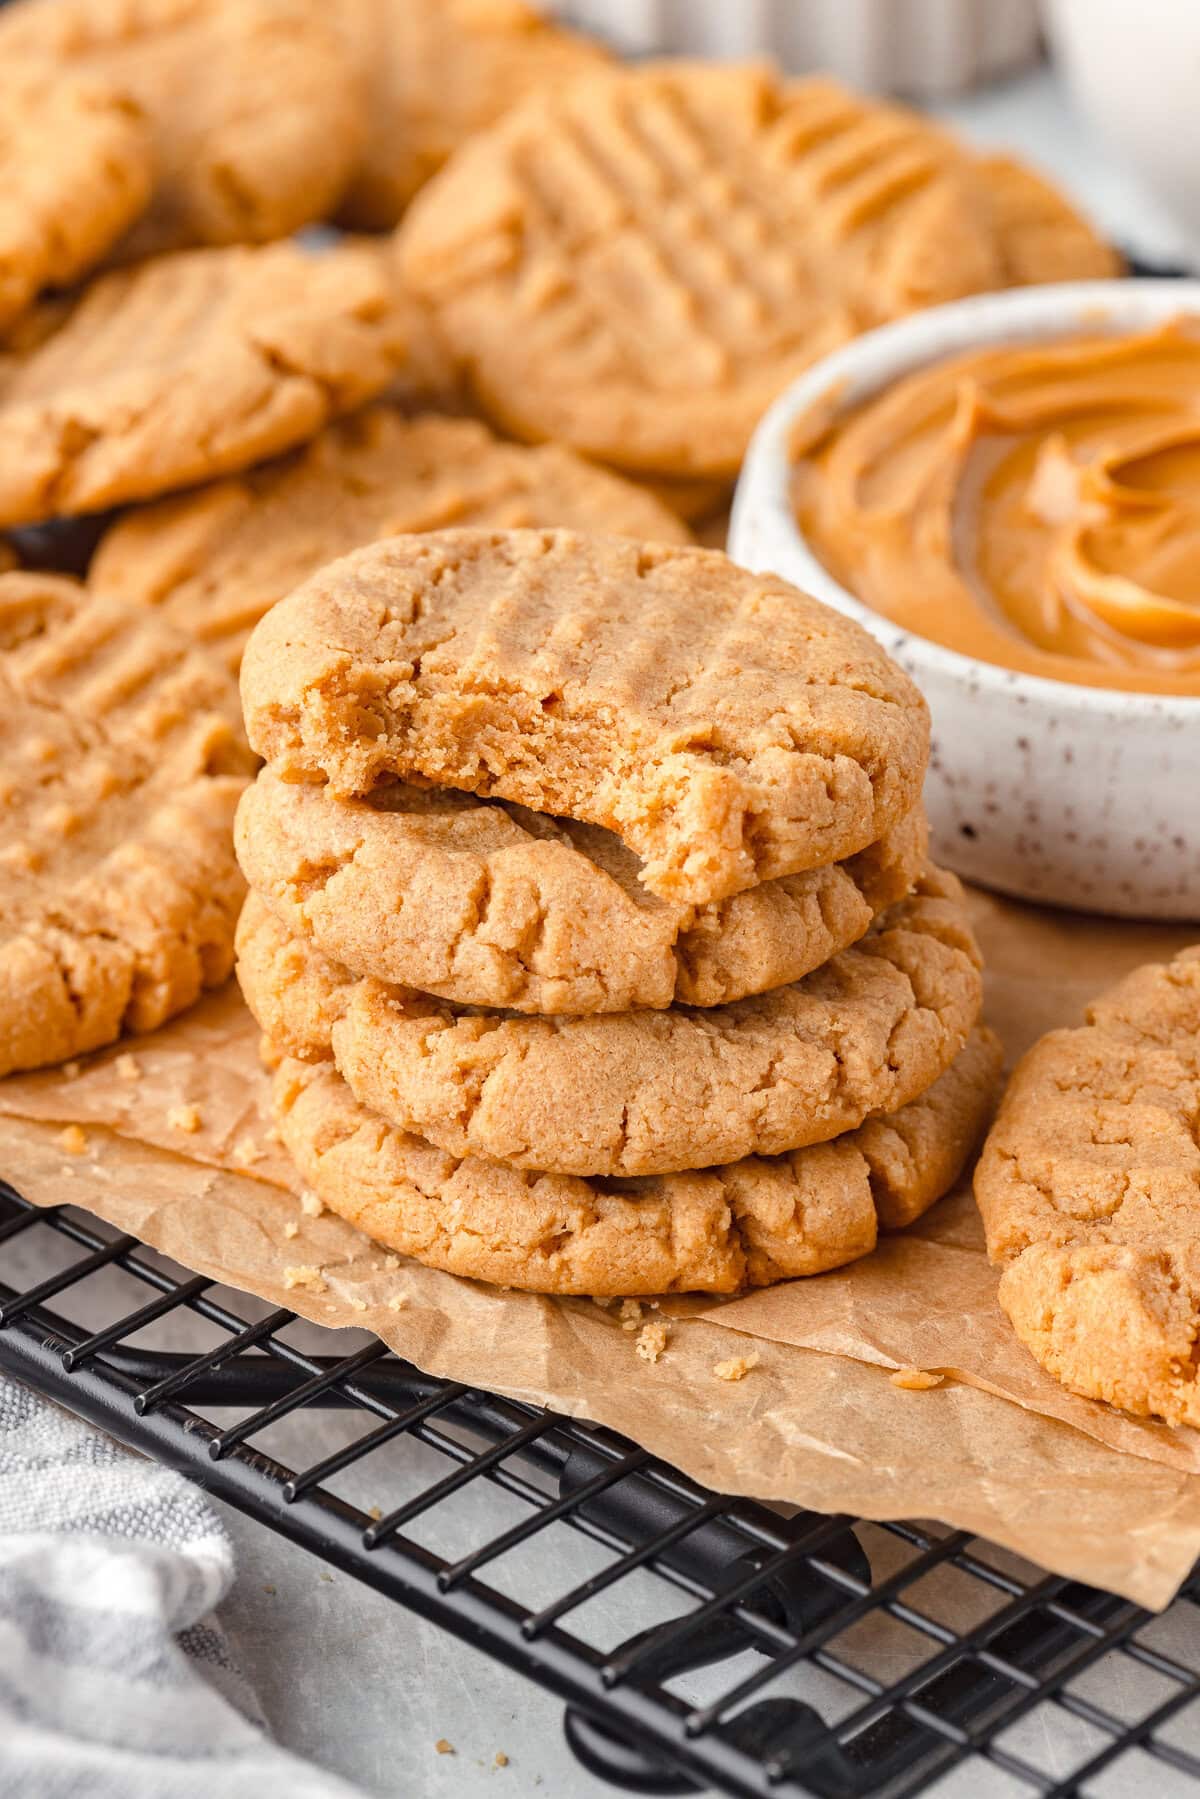
This is actually one of the first cookie recipes I recommend to someone who is new to baking with fresh milled flour.
It only uses 1/3 cup of soft white wheat flour, so you still get some whole grain goodness without changing everything you already love about a classic peanut butter cookie.
It’s an easy way to stat getting your family used to freshly milled flour, especially if they’re a little hesitant about making the switch!
What you’ll love about these peanut butter cookies
What Ingredients Do I Need to Make Fresh Milled Peanut Butter Cookies?
- Peanut butter-I use creamy peanut butter.
- Granulated sugar
- Egg
- Vanilla extract
- Baking soda
- Fresh Milled Soft White Wheat Flour
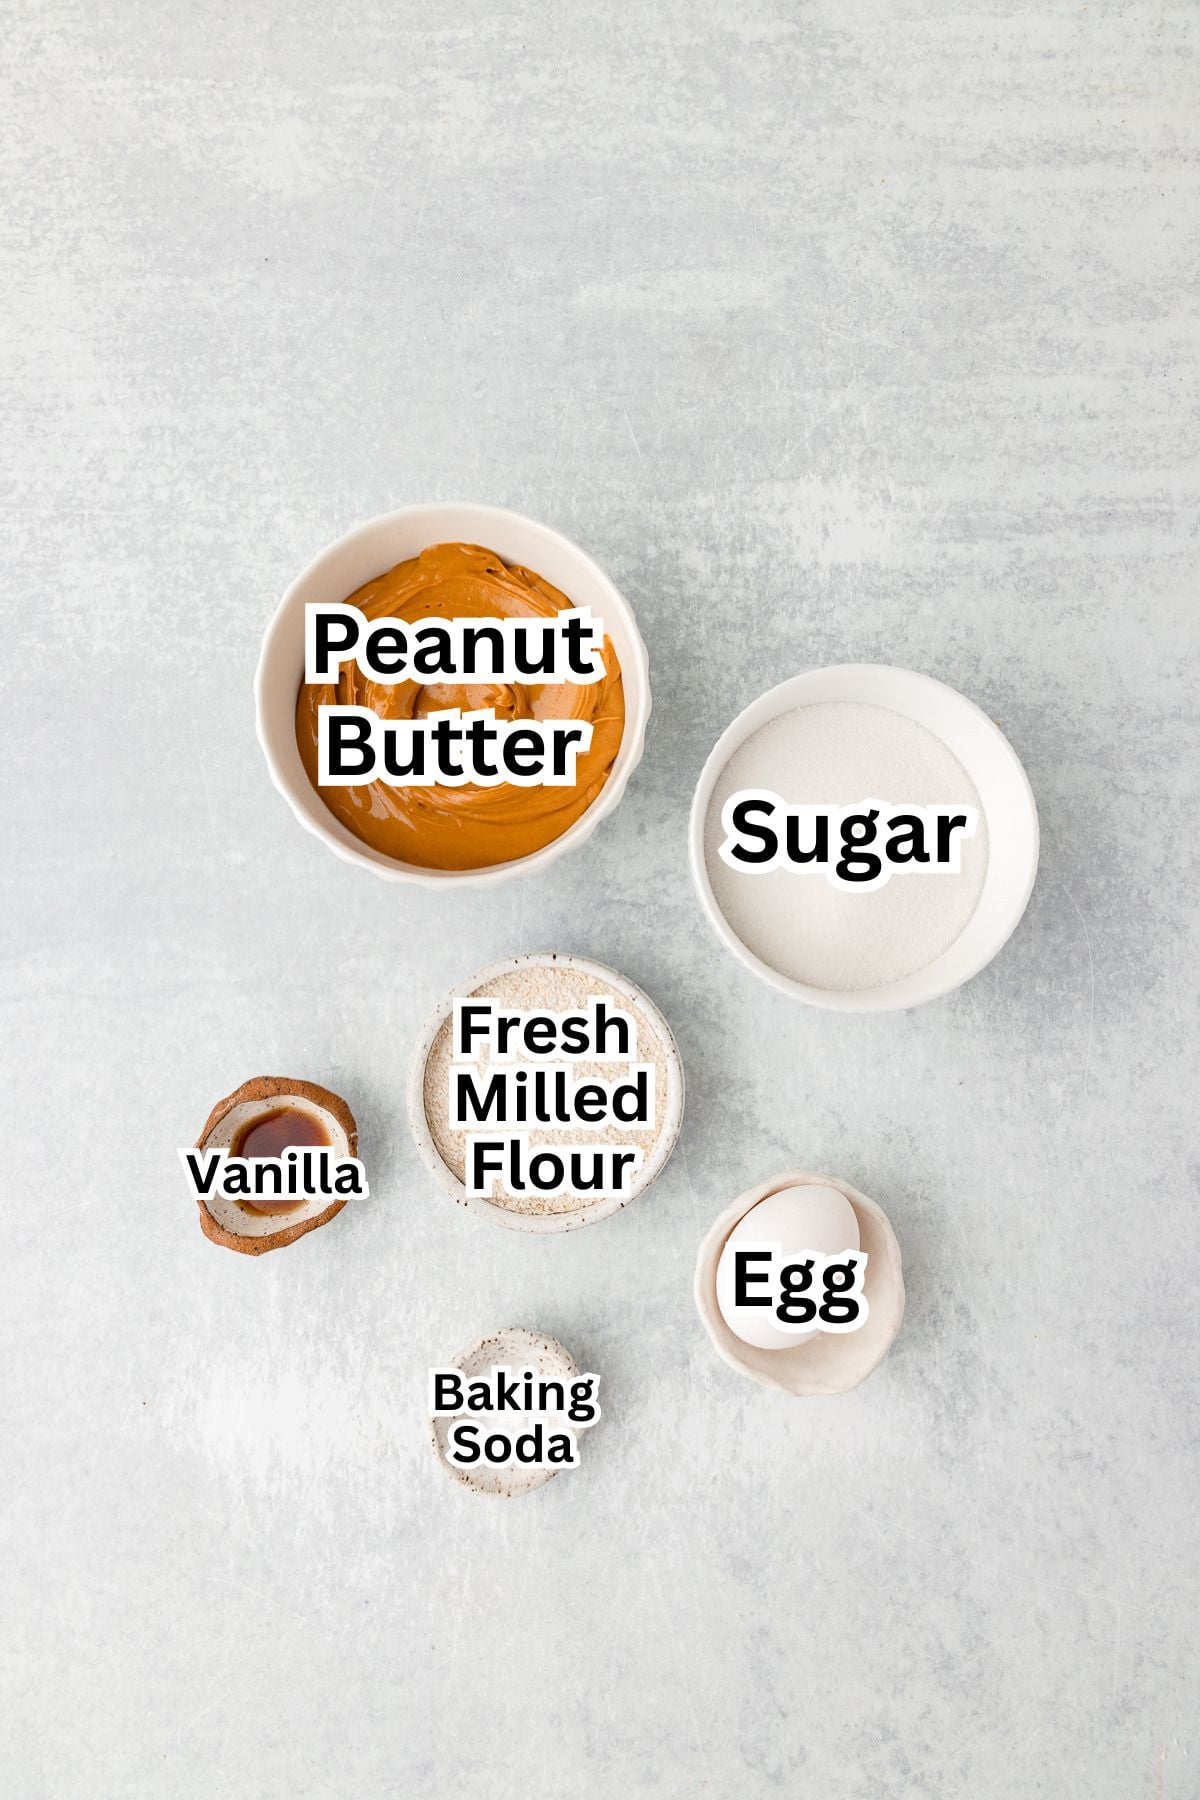
Ingredient Notes:
- Peanut butter: Use a regular creamy peanut butter for the best results. Natural peanut butter can have a different consistency and may change how the cookies spread.
- Soft White Wheat: Mill the wheat berries as normal, then spoon the flour into a measuring cup and level it off. There’s no need to sift the flour for this recipe.
- Egg: A room temperature egg mixes into the peanut butter mixture more easily.
How to make Fresh Milled Flour PB Cookies
Grab the full recipe card with exact ingredient amounts below
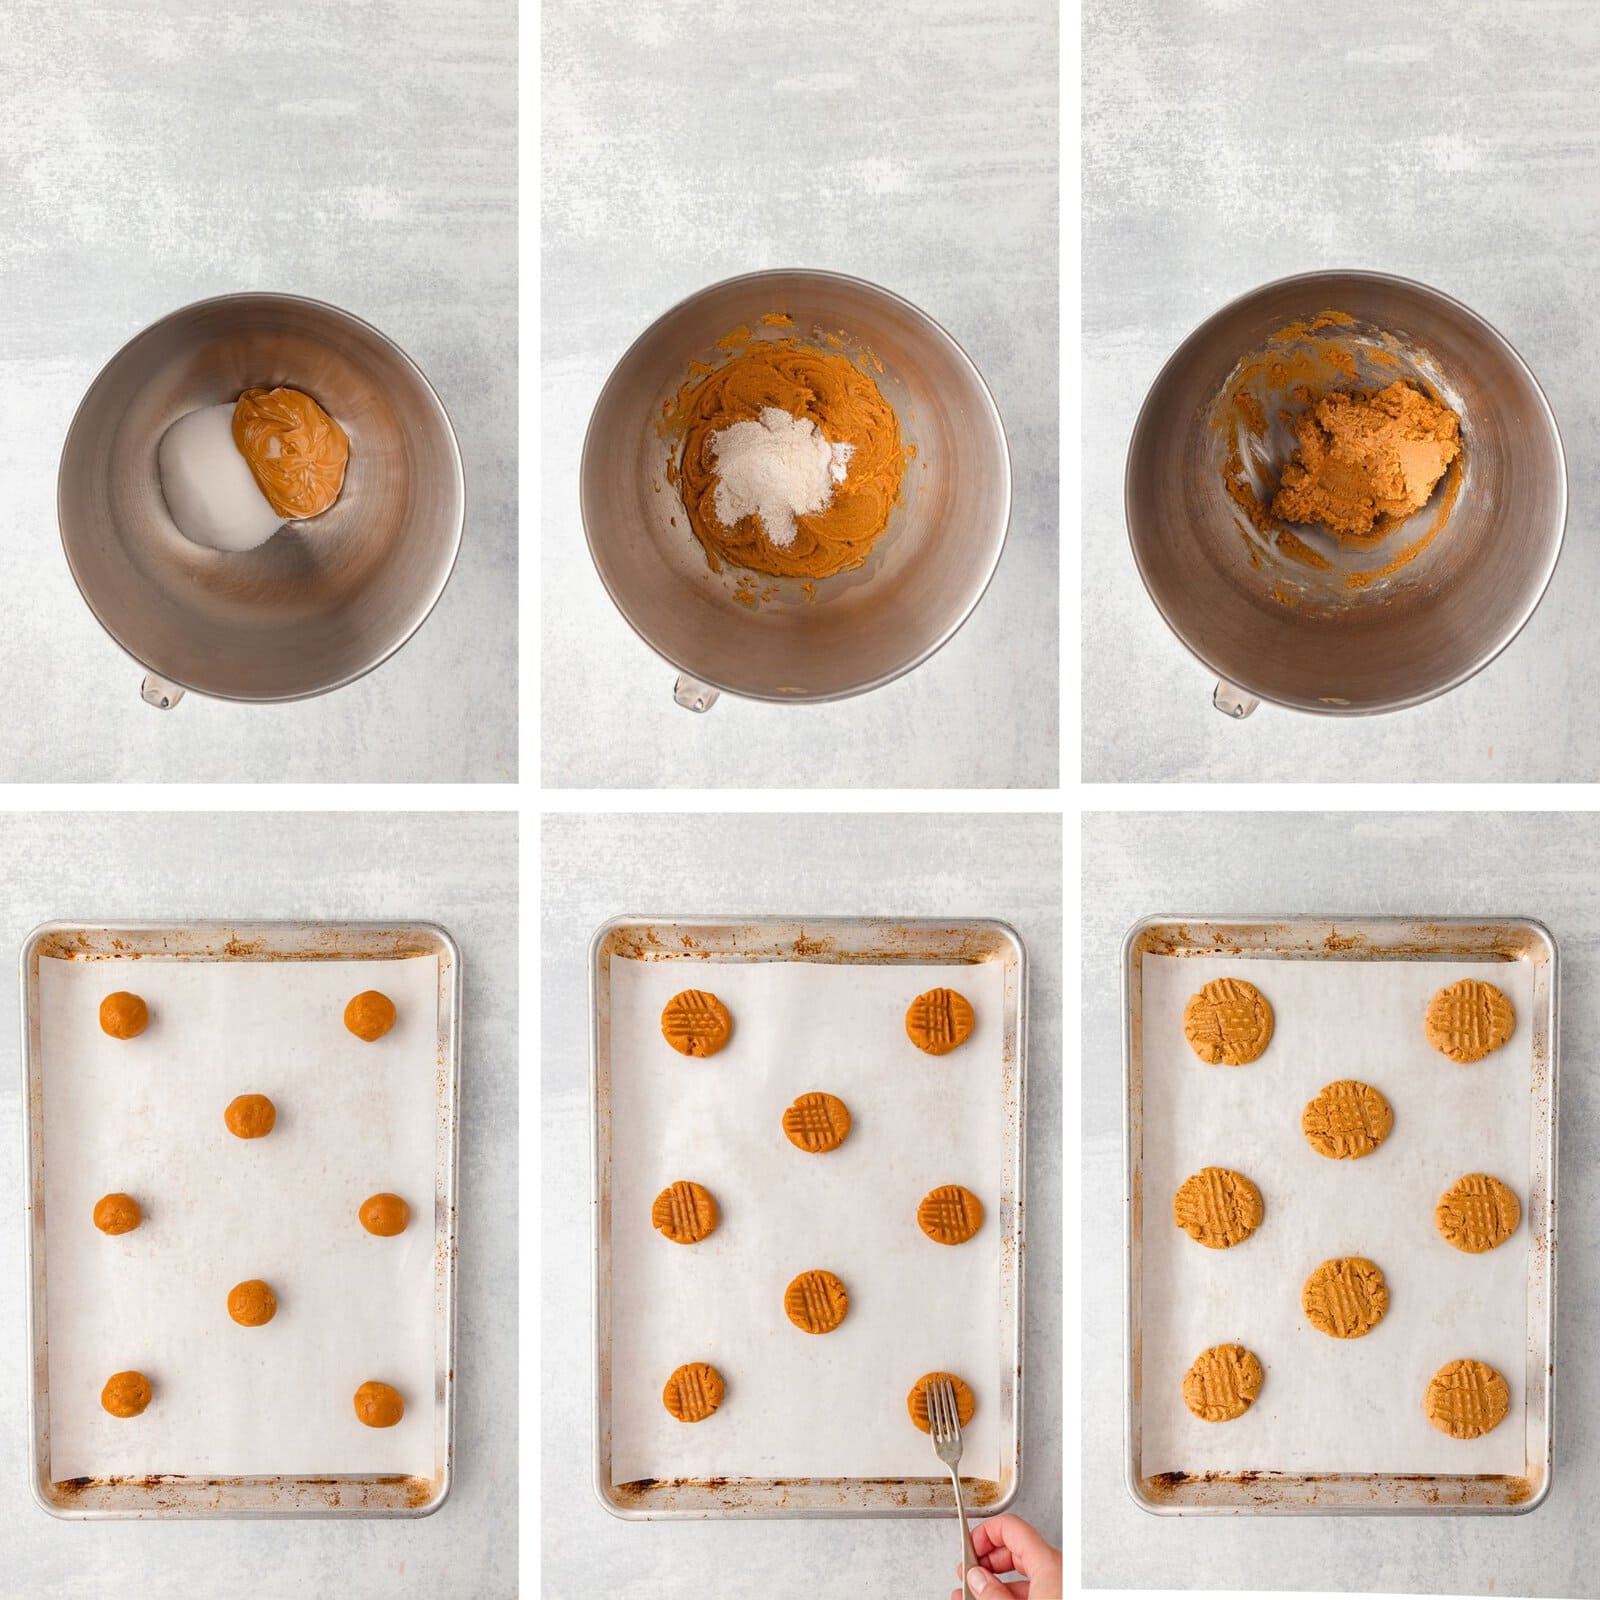
Step 1: Preheat oven to 350°F. Line a baking sheet with parchment paper.
Step 2: Add the peanut butter and sugar to a large bowl and mix until well combined.
Step 3: Add the eggs and vanilla and mix until smooth.
Step 4: Add the freshly milled soft white wheat flour and baking soda. Mix just until combined.
Step 5: Let the dough rest for 5 minutes to allow the freshly milled flour to absorb some of the moisture.
Step 6: Scoop the dough with a small cookie scoop and roll into balls. Place them about 2 inches apart on the prepared baking sheet.
Step 7: Gently press each cookie with a fork in a crisscross pattern, leaving the cookies fairly thick.
Step 8: Bake for 8 to 10 minutes, or until the edges are set and the centers still look slightly soft.
Step 9: Cool on the baking sheet for 5 minutes before transferring to a cooling rack.
PRO TIP:
Don’t flatten the cookies too much when making the crisscross pattern. Gently press them with a fork, so they stay soft in the center.
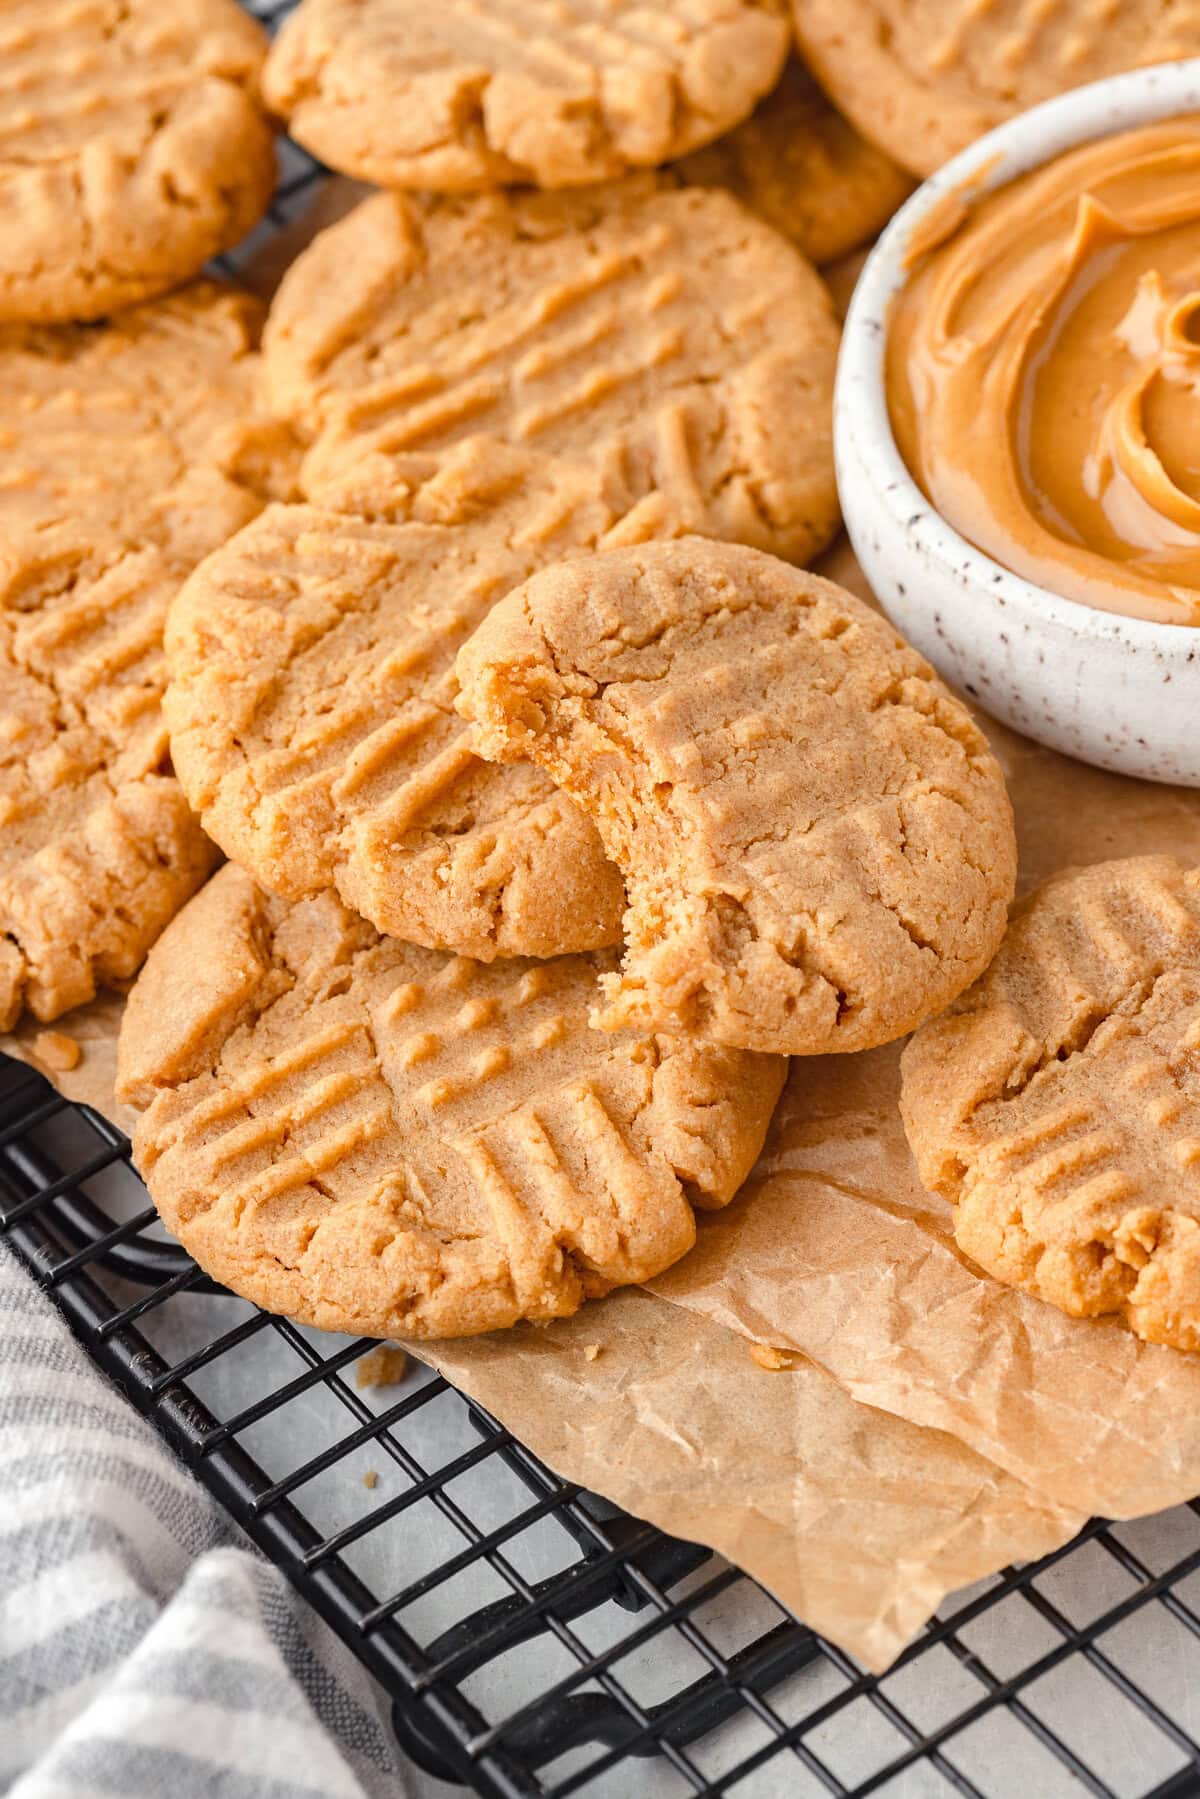
Storage and Reheating:
Storage: Store the cooled cookies in an airtight container at room temperature for up to 4 days.
Freezing: Place the cooled cookies in a freezer safe containg or freezer bag and freeze for up to 3 months. Let them thaw at room temp before serving.
Freezing the dough: Scoop and shape the cookie dough, then freeze the dough balls on a baking sheet until firm. Transfer them to a freezer bag and freeze for up to 3 months. Thaw before pressing with a fork and baking as directed.
SAVE THIS RECIPE FOR LATER!
Additions and Substitutions:
- Chocolate Chips: Add 1/2 cup of semi-sweet or milk chocolate chips to the dough.
- Chopped peanuts: Stir in 1/2 cup of chopped peanuts for a little crunch.
- Sugar: Roll the cookie dough balls in granulated white sugar before making the crisscross pattern for a little extra sweetness on the outside.
- Flour: I recommend soft white wheat flour for the best texture, but you can experiment with another wheat variety. Keep in mind that the texture may be different.
FAQs about Whole Wheat Peanut Butter Cookies
What wheat is the best for whole wheat peanut butter cookies?
I recommend soft white wheat for these cookies. It has a lower protein content than hard wheat and works well for cookies, cakes, and other baked goods where you want a softer texture.
Do I need to sift the fresh milled flour for these cookies?
No! Mill the wheat berries as normal, then measure and use the flour as you normally would. No need to sift.
Do I need to chill the cookie dough?
No. This dough can be scooped and baked right away. There’s no chilling or resting time needed.
Can I use natural peanut butter?
I recommend regular creamy peanut butter for this recipe like Jif, Skippy, Great Value, etc. Natural peanut butter tends to separate and can have a much runnier consistency, which could change the texture and spread of the cookies.
Why do you put fork marks on peanut butter cookies?
Peanut butter cookie dough is thick, so pressing the dough with a fork helps flatten it before baking. Just press lightly for this recipe so the cookies don’t go super flat.
What to Serve with Fresh Milled Peanut Butter Cookies
These cookies are perfect with a cold glass of milk, especially while they’re still a little warm! You can also serve them with vanilla or chocolate ice cream for an easy dessert.
Ready to Bake More with Fresh Milled Flour
If you’re ready to do more with freshly milled flour, check out my Complete Guide to Freshly Milled Flour . It has everything I wish I had when I first started milling my own flour!
You can also grab my Lunchbox Dough ebook, where One Fresh Milled Master Dough can be turned into 10 different handheld meals that are perfect for lunches, quick dinners, and meal prep!
Made this recipe? I’d love to see it! Tag me on IG or FB @littlechefwithin or share a photo in my Facebook group Fresh Milled Flour Happiness . I love seeing what you’re baking!

Fresh Milled Flour Peanut Butter Cookies
Equipment
Ingredients
- 1 cup creamy peanut butter 256 g
- 3/4 cup granulated sugar 167 g
- 1 large egg room temperature
- 1 teaspoon vanilla extract
- 1/3 cup freshly milled soft white wheat flour 41 g
- 1/4 teaspoon baking soda
Instructions
- Preheat oven to 350°F. Line a baking sheet with parchment paper.
- Add the peanut butter and sugar to a large bowl and mix until well combined.1 cup creamy peanut butter,3/4 cup granulated sugar.
- Add the egg and vanilla and mix until smooth.1 large egg,1 teaspoon vanilla extract.
- Add the freshly milled soft white wheat flour and baking soda. Mix just until combined.1/3 cup freshly milled soft white wheat flour,1/4 teaspoon baking soda.
- Scoop the dough with a small cookie scoop and roll into balls. Place them about 2 inches apart on the prepared baking sheet.
- Gently press each cookie with a fork in a crisscross pattern, leaving the cookies fairly thick.
- Bake for 8 to 10 minutes, or until the edges are set and the centers still look slightly soft.
- Cool on the baking sheet for 5 minutes before transferring to a cooling rack.
Notes
Nutrition
This post contains links to affiliate websites, such as Amazon, and we receive an affiliate commission for any purchases made by you using these links. We appreciate your support!

About Vicky Hadley
Vicky Hadley is a professional food photographer and creator behind Little Chef Within. As a mom of 6 boys, there’s always plenty of noise and plenty of food! She relies on filling meals to keep her crew happy and loves creating recipes that real families can count on.