Large Loaf Size Sandwich Bread
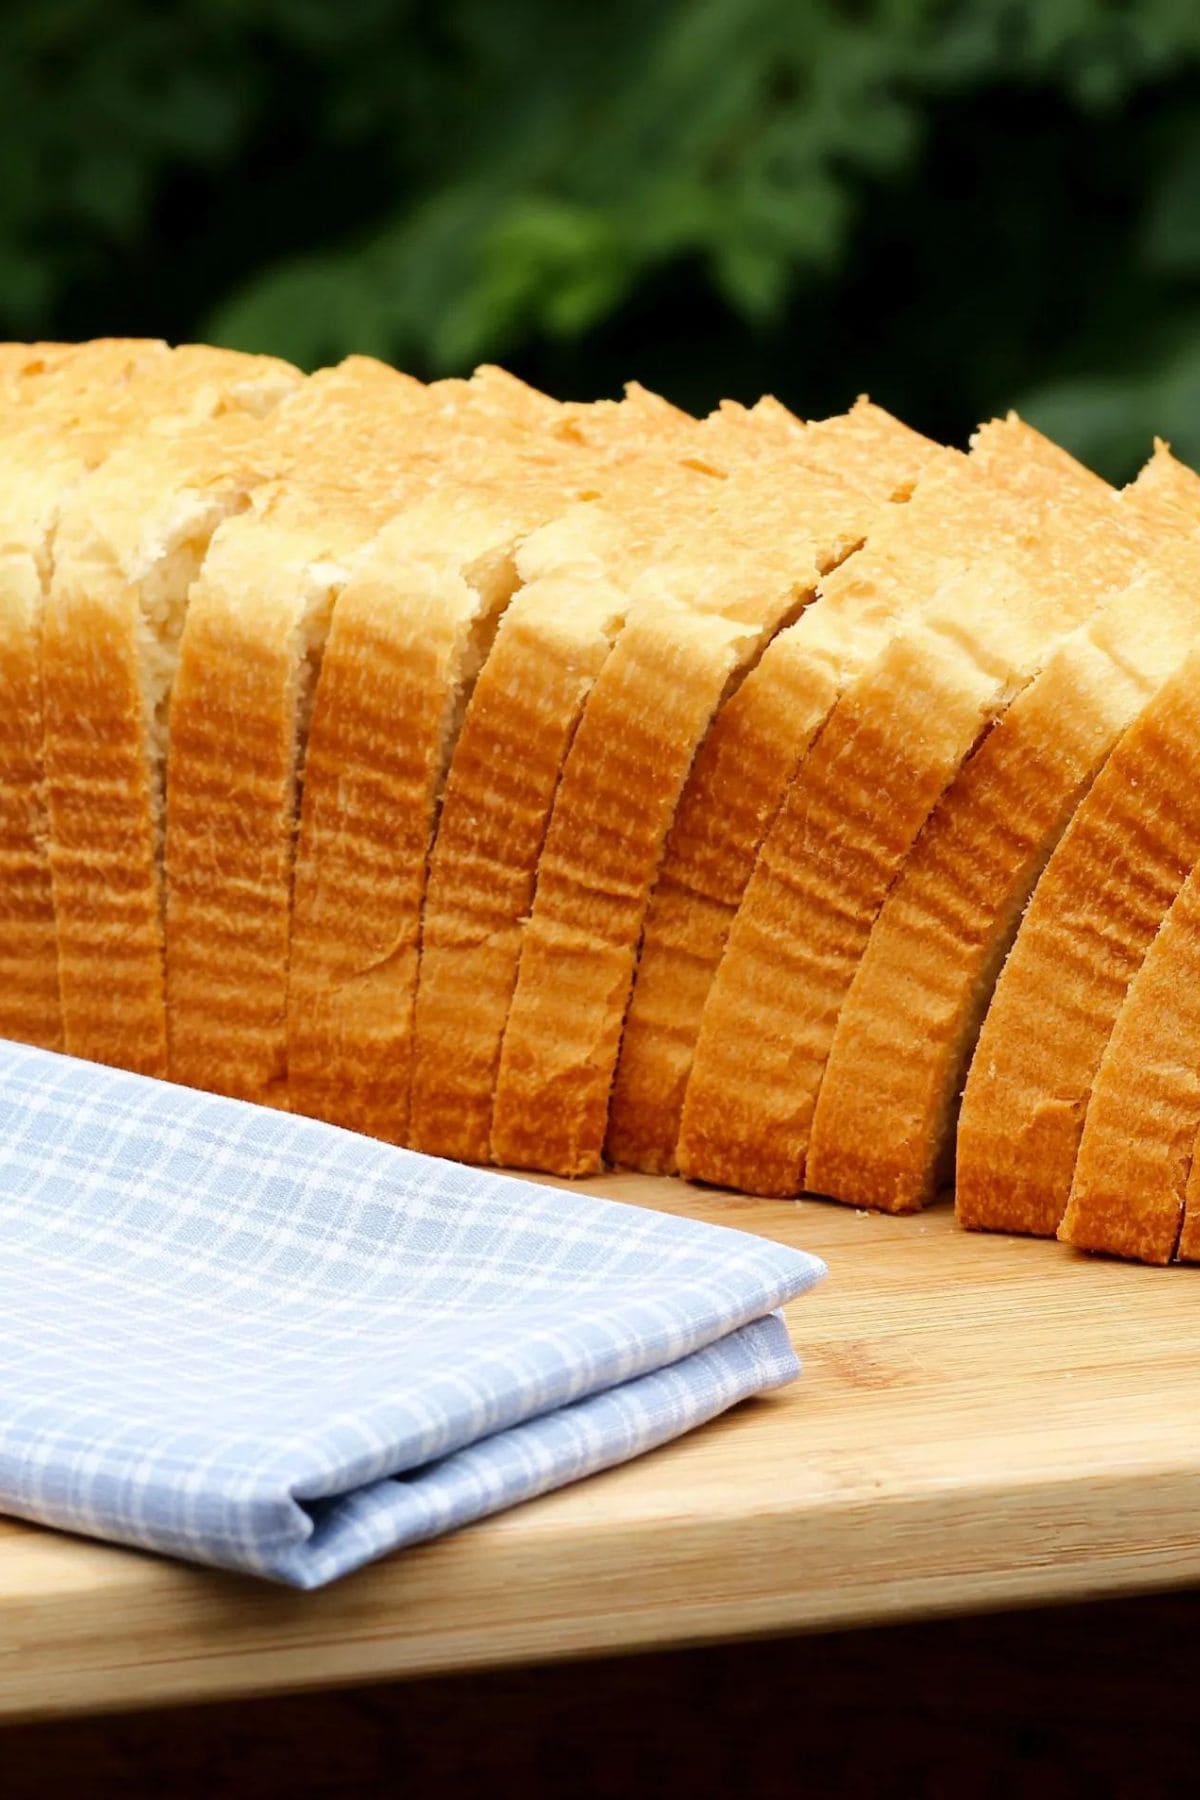
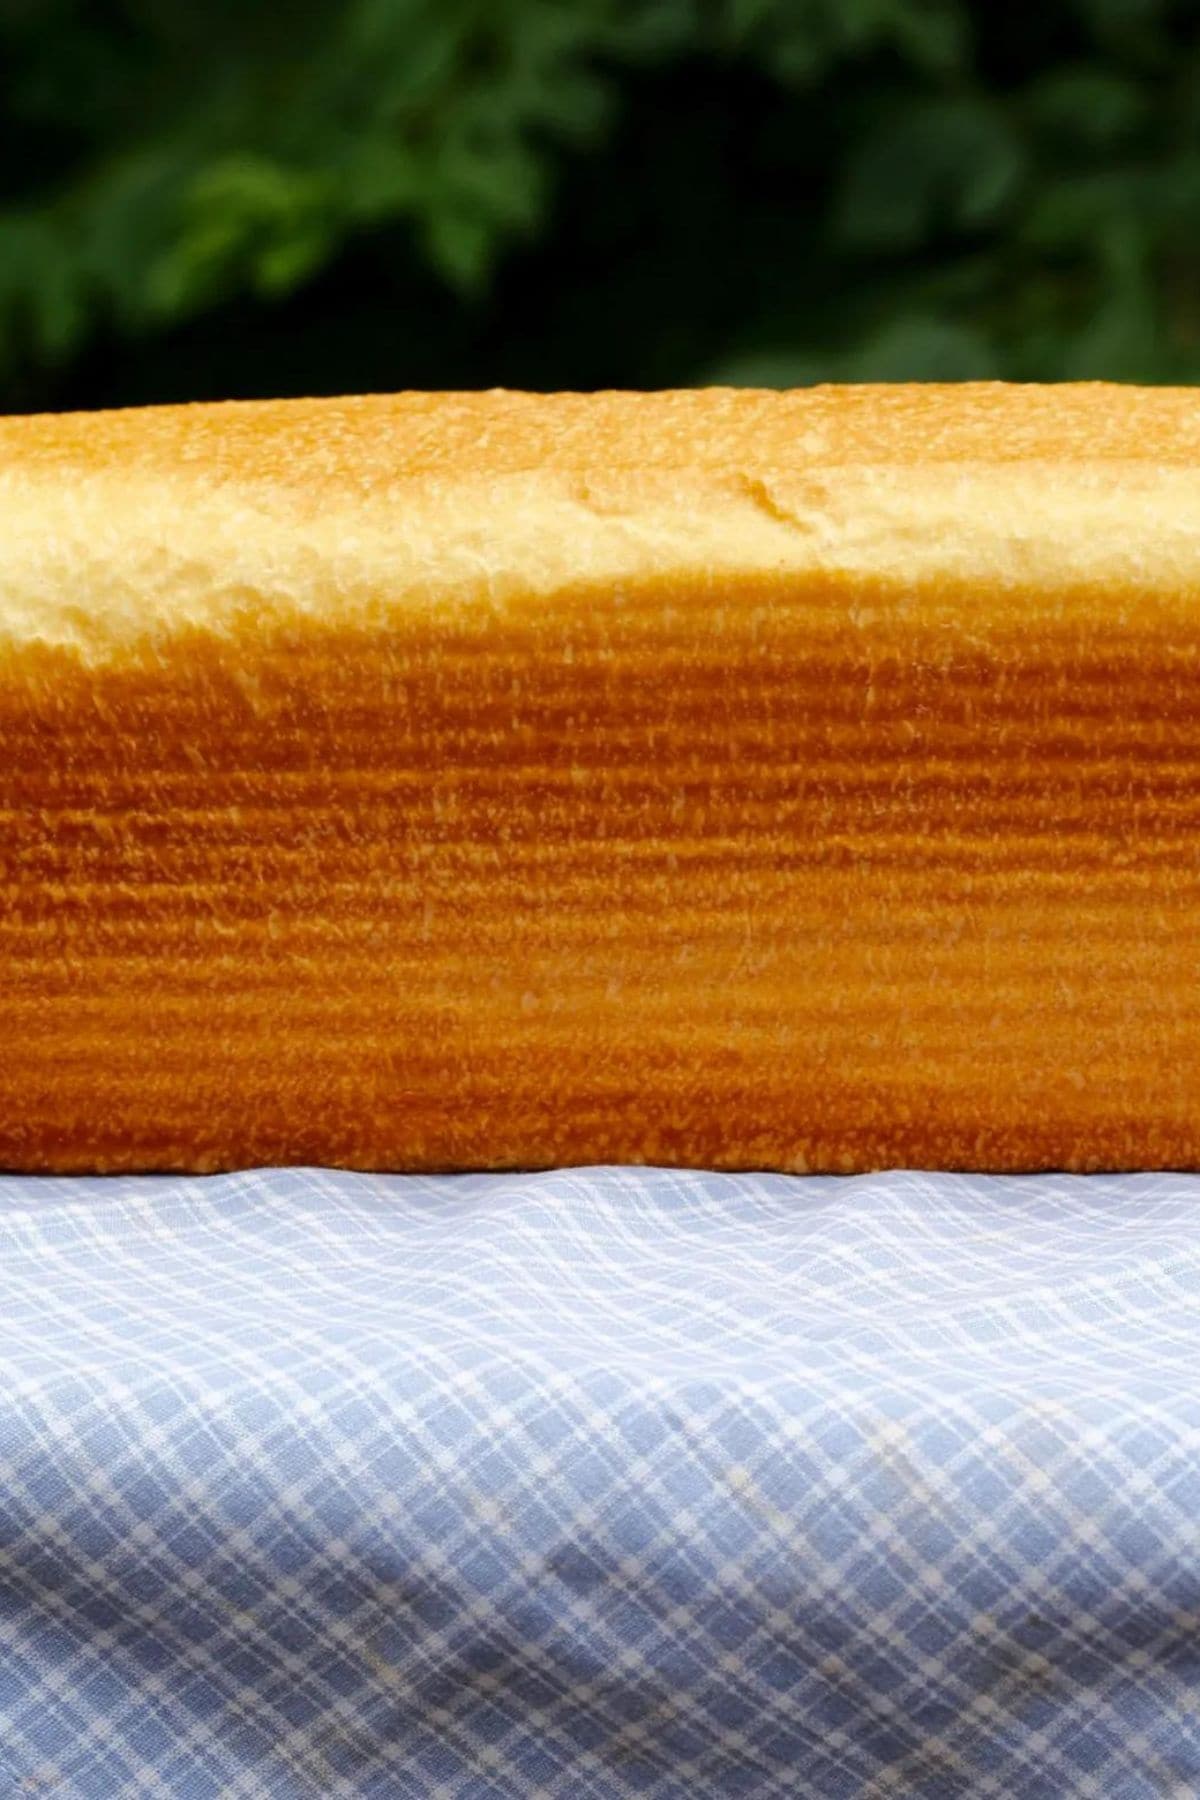
Hey there! So, have you ever wanted to bake bread at home that’s similar to those long loaves you find in supermarkets? Well, the Pullman Loaf Pan is your answer! This amazing pan lets you bake a huge loaf perfect for a large family or a get-together with friends. Seriously, my kids can’t get enough and devour the whole loaf in one sitting!

Save this Recipe for later!
The Pullman Loaf Pan is a game-changer because it’s like baking two normal-sized bread loaves at once, but you only need one pan. Talk about convenience, right? When it comes to slicing, I usually like to cut the bread thinner than store-bought, but sometimes life gets busy and I need to slice it a bit thicker. No worries, though! The beauty of homemade bread is that you’re in control of not just the ingredients but also the slice thickness.

Helpful Tips:
- Milk and Water Temperature: Ensure that the milk and water are lukewarm (about 110°F or 45°C) to properly activate the yeast without killing it.
- Butter: The butter should be at room temperature to easily integrate into the dough.
- Kneading: If the dough is too sticky after the initial kneading, add a little more flour, a tablespoon at a time. If it’s too dry, add a bit more water.
- Rising Environment: Let the dough rise in a warm, draft-free environment. This could be inside a turned-off oven with the light on or in a microwave with a cup of hot water.
- Shaping the Dough: When shaping the dough into a log, try to make it as even as possible for uniform baking.
- Checking for Doneness: Use an instant-read thermometer to check if the bread is done. The internal temperature should be around 190°F.
- Cooling: Let the bread cool in the pan for about 10-15 minutes, then remove it from the pan and let it cool completely on a wire rack. Cutting into the bread while it’s still hot can cause it to become gummy.
- Storage: Store the cooled bread in an airtight container or bread box at room temperature. It can also be sliced and frozen for longer storage.
- Yeast: Instant yeast does not need to be proofed in warm water and can be added directly with the dry ingredients. If using active dry yeast, proof it in the lukewarm water with a pinch of sugar first.

Large Loaf Size Sandwich Bread
Ingredients
- 2/3 cup milk
- 1 cup water
- 6 tablespoons butter
- 2 1/4 teaspoon salt
- 3 tablespoons sugar
- 1/4 cup nonfat dry milk
- 3 tablespoons instant potatoes
- 4 3/4 cups All-purpose flour
- 2 teaspoon Instant yeast
Instructions
- In the bowl of your KitchenAid mixer, combine the milk, water, butter, salt, sugar, dry milk, instant potatoes or potato flour, flour, and yeast.
- Knead the dough using the mixer for 5-8 minutes until it becomes smooth. Transfer the dough to a lightly oiled bowl, cover, and let it rise for about 1 1/2 hours, or until it has doubled in size.
- Lightly grease your Pullman Loaf pan. Gently deflate the dough, shape it into a 13-inch log, and place it in the prepared pan.
- Cover the pan with greased plastic wrap and let the dough rise until it's just below the lip of the pan, approximately 45 minutes to 1 hour.
- Preheat the oven to 350°F. Remove the plastic wrap and place the greased lid on the pan. Let the dough rest for another 10 minutes.
- Bake in the preheated oven for 25 minutes with the lid on.Carefully remove the pan from the oven, take off the lid, and return the pan to the oven. Bake for an additional 20 minutes, or until an instant-read thermometer registers 190°F .
- Remove from the oven and place the pan on a cooling rack. Allow the bread to cool completely in the pan before slicing.


I bought the 13″ pullman pan and have used it a couple of times (can’t wait to try your recipe!). I’m wondering, can I leave the lid off, let the bread rise till slightly rounded over the top and bake it? I love the square, but want to try a rounded top!
Hi, Donna! Although I haven’t tried it, I don’t see why you couldn’t! The lid just makes a uniform square shape.
There is no mixing instruction so what is the order of assembly
Hello Jean! Sorry about that, when I switched my theme the new recipe card didn’t carry the first step over, I have corrected it. I will be updating old posts very soon, including this one. I hope you will come back to see the updataes! Thank you!